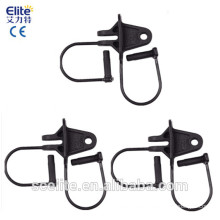


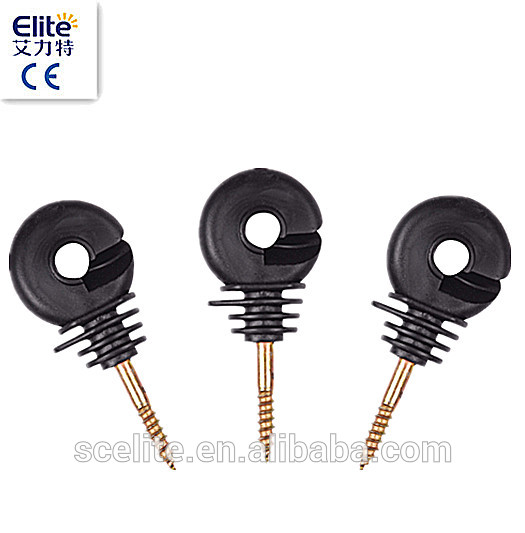
electric fence system Insulators
Product Description
ELECTRONIC FENCE ACCESSORIES
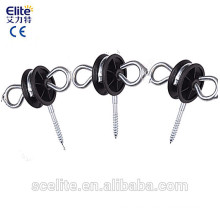
Product name | wood post extended angle ring insulator for electric fence |
Material | Plastic |
Package | Carton |
Certification | CE |
MQQ | 1000pcs |
Price Term | EXW |
Lead time for sample/stock | 3-5days |
Lead time for max production | 25-35days |
Color | Black/red/bule/any |
Payment way | T/T,Western union,Paypal |
Shipping way | By sea,or by express as DHL,FEDEX |
Remark | Eco-friendly and environmental |
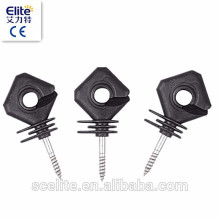
High quality, Short and hard wearing Electric fence Insulators. Threaded for ease of use. Can be installed by hand. Best used along with Polywire.


More specifications to choose
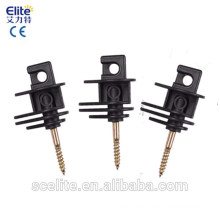
Screw in | Available |
Apply for | Wood post |
Available wires | Polywire |
Color | Orange,purple,white,black etc. |
High quality, Short and hard wearing electric fence insulators. Threaded for ease of use. Can be installed by hand. Best used along with Polywire.
How to Install Electric Fence Insulators
1.Install line post insulators. Use spray paint to mark the locations on your wood and steel line posts where you want to locate the insulators and wire. Wire heights vary depending upon the type of animal you plan to contain, but a permanent, interspecies (sheep and cattle) electric fence requires seven or eight wires at distances of 5 to 10 inches
2.Install line post insulators on your steel T-posts. Clasp the snap on the back of the insulator around the circumference of the pole at the correct height. Firmly push the clasp against the pole until it clicks into place. Repeat this process for all the insulators on each steel T-post.
3.Install line post insulators on your wooden posts. Position the plastic insulator at the correct height on the post,insert a nail into the nail hole on the top of the insulator and hammer it completely into the post. (Nails typically come with the insulators.) Insert another nail into the nail hole on the bottom of the insulator and hammer it in. Repeat this process for each insulator on each wooden post.The better way for these is to use the screw-in insulators,it is much better for installing,no need to drill holes.
4.Install terminal insulators on your corner posts and gate posts. Cut a section of wire that is long enough to wrap 3-1/2 times around your first corner post. Thread the wire through the hole in the center of the terminal insulator then wrap it around the corner post at the desired height, leaving approximately six inches of space between the terminal insulator and the post; when you install the electric fence, this allows the terminal insulator to move slightly with the wire fence in either direction, which reduces the pressure on the corner posts). Rethread the wire and wrap it around the corner post two more times, then wrap the two ends back over the wire to secure it. Repeat this process for each terminal insulator on each corner post.
5.Check your insulators to ensure they are all installed at the correct heights before installing the rest of your electric fence.
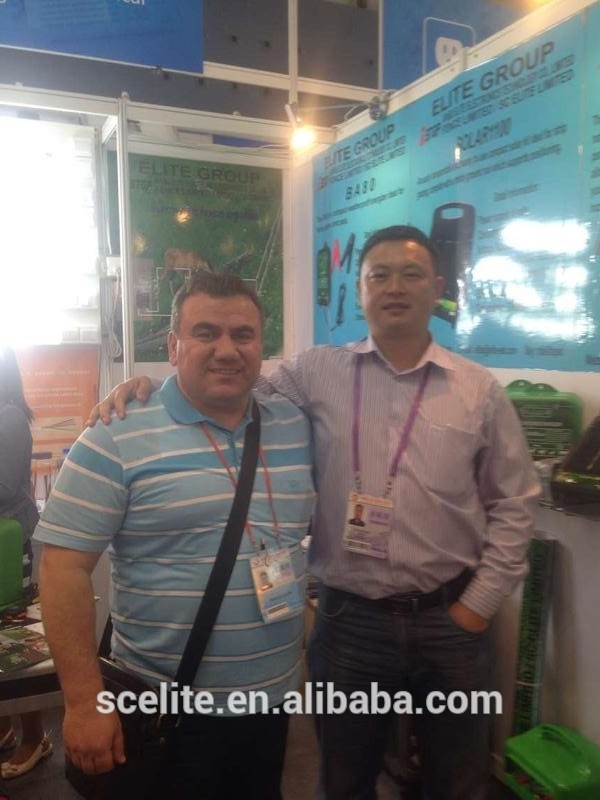


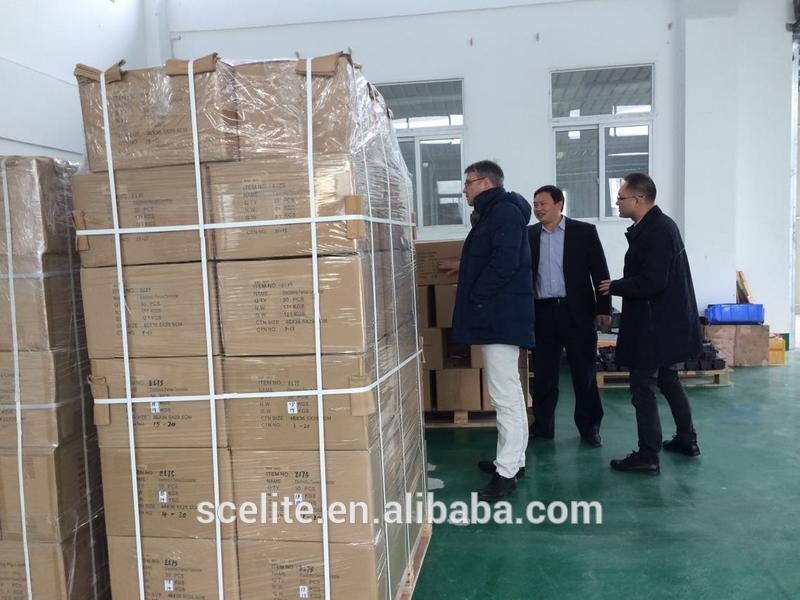

Contact us if you need more details on Insulators for Electric Fence. We are ready to answer your questions on packaging, logistics, certification or any other aspects about PV Anti Plastic Insulator、Plastic Insulator. If these products fail to match your need, please contact us and we would like to provide relevant information.
Product Categories : Electric fence Insulators